You think you have a product that is sure to sell but don’t have a place where you can sell it? Relax, you don’t need a physical location for that – an eCommerce website will fulfill all your needs.
Want to create an #eCommerce #website? Then reading this article is exactly where you should start!
Don’t know how to create one? Well, that’s what this text is for. This is your step-by-step guide on how to start an eCommerce website from scratch, and we are going to cover absolutely everything you need to know to become a full-fledged entrepreneur. So sit back, strap yourself in, and read on; you are about to become a business owner.
What is an eCommerce website?

First things first, let’s define what we’re talking about in this text. eCommerce websites are simply websites on which you can buy things. The only difference between them and shopping in your local supermarket is the fact that everything is done electronically, i.e. online, and that you can shop from the comfort of your own home. Something like Amazon is a great example.
But you don’t have to be a big corporation to set up your eCommerce website. Literally, anyone can do it these days, just like anyone can set up their own website.
There are plenty of platforms out there that offer you the option of creating your own online store very easily. Depending on the amount of effort you invest into it, your webshop can look extremely professional and attractive. However, one eCommerce platform has taken the world by storm, and we will be basing the rest of this text on it. Without further ado, allow us to present to you…
WooCommerce
Yes, WooCommerce. This is actually a plugin for WordPress, developed by a branch of WordPress itself, and today it is responsible for running almost half of all online stores IN THE WORLD. So, it’s fair to say that it’s quite popular. Despite that, you may be surprised to know that it’s completely free to download and use. In addition, it is an open-source product, just like WordPress itself, and with a dedicated team behind it, you can be sure you will always have an excellent platform to sell your products.
If you’re worried about using it, don’t be – while it is extremely versatile and powerful, the secret of WooCommerce’s success lies in the fact that it’s exceptionally easy to use. Even a complete WordPress beginner can set it up in a flash, as we shall now demonstrate by showing you a few simple steps you need to follow to install WooCommerce and get it running properly.
Before we start, though, remember that you need a WordPress website for this. Additionally, you will also need to choose the right theme, one that can support this plugin in its entirety.
Step 1: Installing WooCommerce
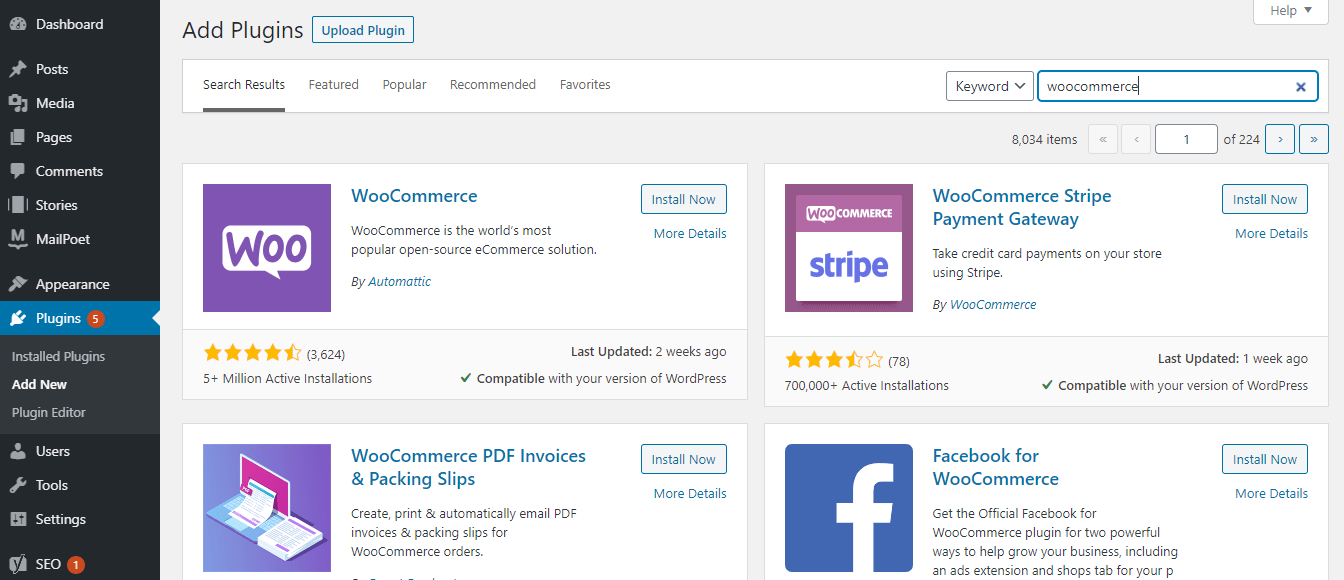
Since WooCommerce is a plugin, you add it just like any other plugin to your website. Once you log in, look to the left side of your screen and find the Plugins button. Click on it and three new options will appear just below. Click “Add New” and you will have the option to browse through all available plugins.
To make things easier, just type “WooCommerce” into the search bar on the right. Then click on the “Install now” button, follow the instructions and that’s pretty much it.
With that out of the way, you can start filling your WooCommerce store with the products you’re selling. But since there are several things to consider here, let’s take it one step at a time.
Step 2: Defining a product
Before you do anything, you have to think about what kind of product you’ll be selling. In other words, you have to define the product’s category and type. If you’re selling clothes, your categories will likely be T-shirts, jeans, sweaters, and things like that. You get to decide how you name these categories and how many of them there are.
When it comes to product types, there are several pre-defined options. Most shops like this sell so-called simple products, i.e. things that have no additional options.
That can be a book, a vase… just your basic product. If you sell such products in some kind of a set, you should choose the “Grouped” product category.
But those two categories are for products that need to be shipped. You also have the option of selling “Virtual” (some kind of online service) and “Downloadable” products which, obviously, have no such requirements.
External products are also known as affiliate products, and if you choose the “Variable” category, you’re selling a product that comes in a variety of versions.
Step 3: Adding a product
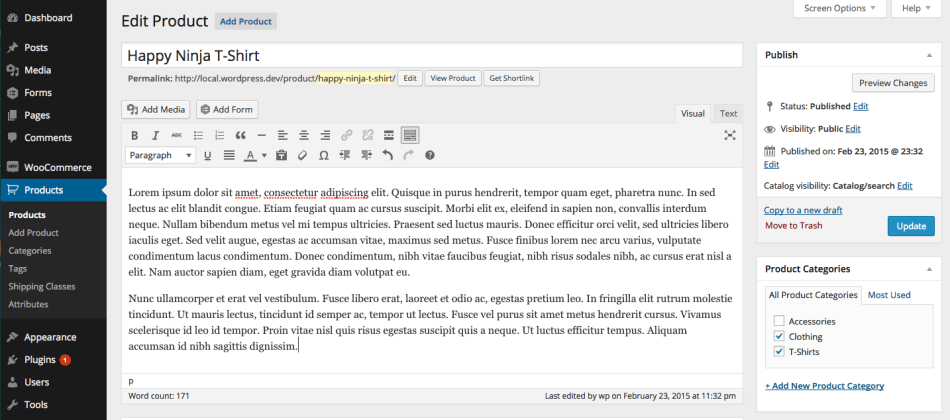
So, you’ve thought about the product and know where it’s going to go? Perfect! Now just click on the “Products” button on the left side of your screen and then on “Add product”. There you will be able to type in the product’s name and description. But this is just the surface layer of information about the thing you’re selling. All the details are hidden in another place.
Step 4: Product data
Well, they’re not exactly hidden – they’re right below in the Product Data meta box. Here you enter the basic information about a product such as its price, tax status, inventory information, and even shipping info.
It is also possible to add attributes to each product that will make it easier to find, and you can also play around with advanced options and maybe enable customer reviews or create a purchase note.
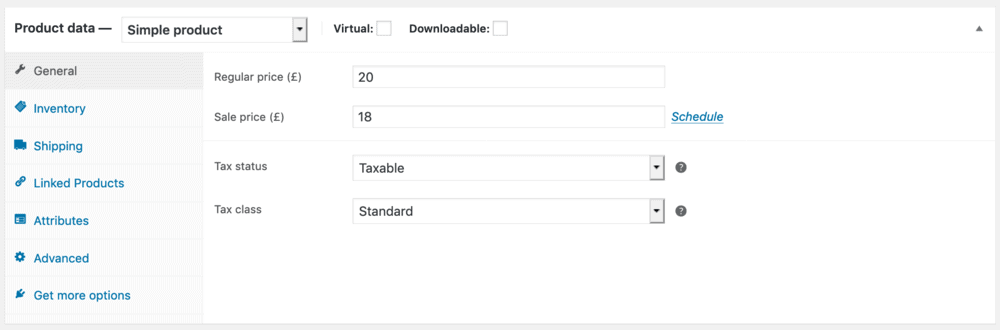
As you can see, there is a lot of data concerning every single product you put into your store, but do be patient and invest a little bit of time to complete this properly. Your buyers will have a much better experience because of it. Also, each product type (simple, grouped, virtual…) will have a slightly different Product Data meta box to fill out, but the differences are not that big and everything functions the same way.
Step 5: Adding images
You really can’t be selling things if people don’t see what they’re buying. So, always upload images of your products to your store.
To do that, you don’t have to go anywhere – on the same screen where you added your product’s title and description, you will find the “Set Product Image” button. Now, Product Image is the main image of a product, the image that will be shown to your visitors when they first open the page. However, below that you can create a Product Gallery, i.e. a collection of images of the same product if you so desire. You can then rearrange the order of these images or delete them whenever you wish.
It should be noted that the recommended size of the images you upload is at least 800 pixels in height and width.
Step 6: Choosing featured products

Now that you’ve added all the products you’re going to sell, you may want to think about making some of them featured products. This can help a lot with marketing them as your customers’ attention will be directed to them when they come to your online store. As a matter of fact, there are some WordPress themes that will ask you to have such products in place.
Luckily, adding featured products in WooCommerce is very simple: just go to the Products page and click on the star in the same row as the product you want to feature. If the star is full, that means the product is a featured product.
Step 7 (Optional): Deleting a product
There may come a time when you want to eliminate a product from your offer. Maybe it’s not performing well or maybe you are simply not able to produce and/or deliver it anymore.
This is also quite an easy thing to do because all you have to do is once again head to the Products page, locate the product you wish to delete, and hover over it for a moment with your mouse cursor. Then simply click “Trash” and that’s it.
Step 8: Adding extensions
We said at the beginning that WooCommerce is free. While that’s certainly true, you may want to purchase extensions for it so that your store has some additional features that are bound to appeal to your audience. You can, for example, maybe add an extension for Amazon Pay so that it’s a part of your store. You can keep track of the sales tax you need to pay, speed up your shipping process, improve your marketing, and a whole bunch of other things.
Essentially, whatever you can think of that is in any way related to running a store can be found as an extension.
Features like subscriptions, bookings, and memberships can also be added into the mix, plus there are bundles of extensions that can be bought too, so you can easily provide your customers with a pleasant shopping experience, no matter what you’re selling. The extensions are usually paid for in the form of an annual subscription.
Now, let’s take a look at some of the most popular WooCommerce extensions on the official marketplace, shall we?
WooCommerce Table Rate Shipping
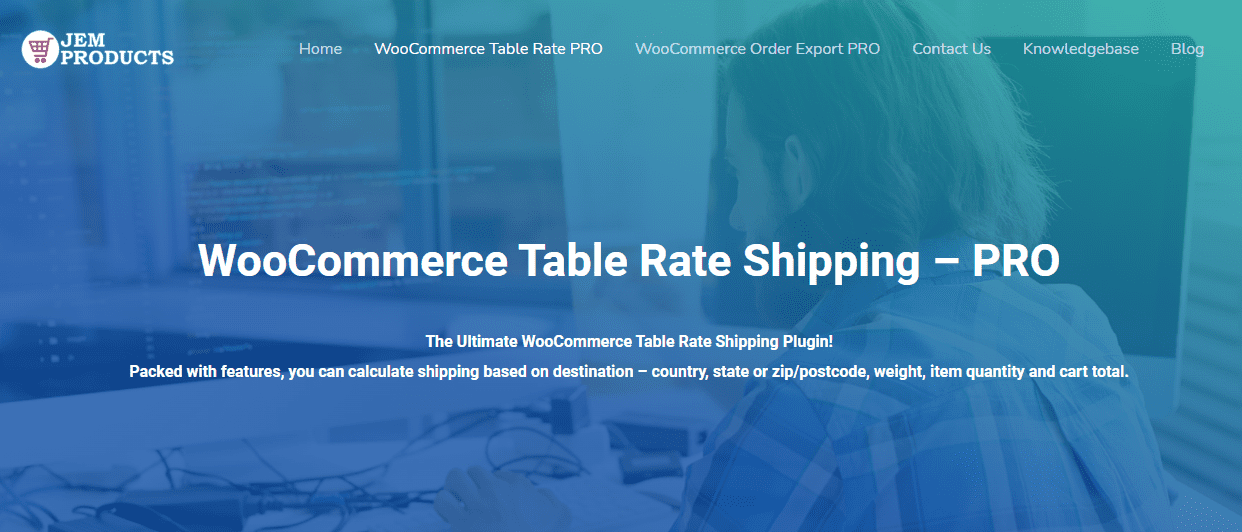
If you hate calculating shipping as much as the next person, we have a treat for you. The WooCommerce Table Rate Shipping plugin is just the tool you need.
Using this plugin, shipping costs can be calculated based on a number of factors such as destination, quantity, cart total, and weight. But that’s not all, advanced shipping rules are what this plugin is famous for. They along with shipping classes allow you to create a shipping rate plan perfect for your business.
What about shipping methods? You can include as many as you’d like, give them unique names, import/export them, hide them or make them be used by force. But, that’s not all. The plugin also gives each user the ability to create shipping rules which apply to logged-in users only. What a tool, right?
WooCommerce Order Export
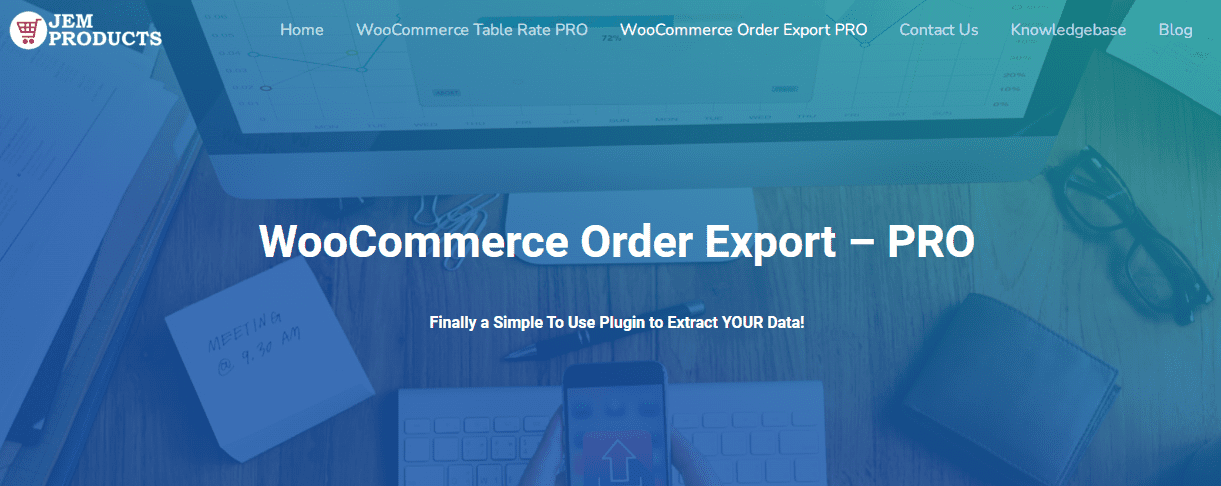
In WooCommerce stores, each order is important. That is why it’s necessary to keep track of them using plugins like WooCommerce Order Export.
Make this plugin your best friend when it comes to exporting data, especially order data. It will send you exports to your inbox or through FTP, even automatically/on a schedule.
The plugin remembers which orders have already been exported saving you from dealing with redundant data. Plus, if you have some preferences regarding how the exports should look, just reorder the columns and you’re good to go.
Direct Checkout for WooCommerce – Skip Cart with Buy Buttons

Are you getting complaints that it takes too long to check out in your WooCommerce store? Just send the customers directly to checkout using buy buttons!
Where do you get the said buy buttons? You create them using the Direct Checkout for WooCommerce plugin.
The buy buttons function as follows – a customer clicks, the product is added to the cart and the customer is redirected to the checkout. The buy buttons can be placed anywhere on your site and be used for all your products or just individual ones.
Compatibility issues don’t arise as the plugin works with simple, variable, and affiliate products and simple as well as variable subscriptions.
Stripe
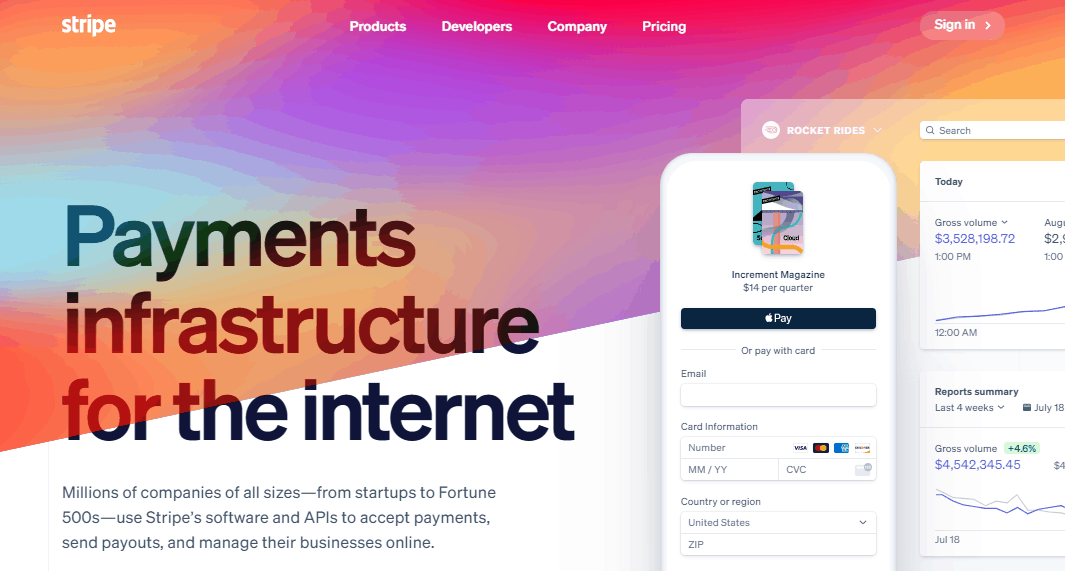
This is an extension that allows you to accept payments made with all major credit cards and even some local payment methods, so it’s easy to see why this would benefit your online store. Of course, everything is PCI-compliant, and the extension works with Apple Pay and Google Pay.
This product is completely free to download, plus you won’t have to pay any subscription later on, which makes it a must-have in your online store.
Smart Coupons
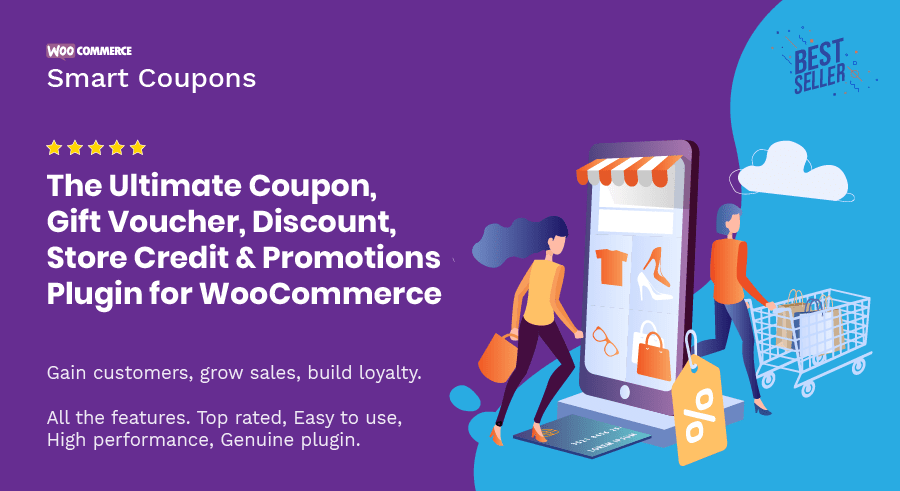
If you plan on having sales regularly, rewarding loyal customers, or offering discounts for any other reason, Smart Coupons can be of great help with that. Absolutely anything you can think of in this sense can be easily set up: percentage discounts, free shipping, fixed discounts, even gift certificates can be created in a couple of clicks.
You can also create coupons en masse, import them, and set them up to be awarded to customers on pretty much every occasion. For 99$ per year, it can be a really good investment that will make your business grow quickly.
Name Your Price
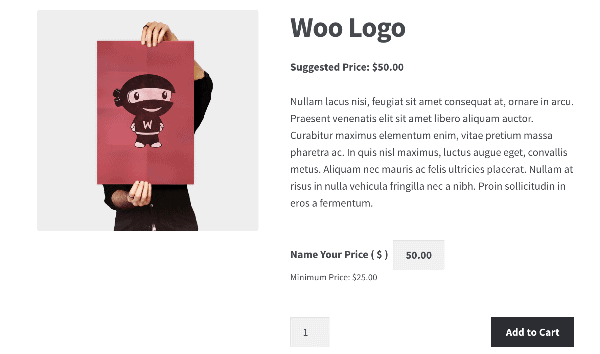
Just to show you how interesting things can get here, we’ll point you to Name Your Price, an extension that allows you to allow your customers to literally pay as much as they think is appropriate for a product.
You can, but don’t have to set a minimum value, or you can maybe use this to collect donations for a noble cause. In any case, this extension can provide you with some valuable data because it will show you how much people are willing to pay for something. That can help you form YOUR price later on.
Plugins for WooCommerce
But WooCommerce extensions are not the only way you can enrich your store’s offer and improve your users’ experience. You can also look for various other plugins that work well with WooCommerce.
Now, technically, extensions are also plugins, but they only work on this particular type of online store. The plugins we will list below are not tied exclusively to WooCommerce, although using them is certainly never a bad idea.
Take a look at some of the examples of what can be installed in your store.
TrustPulse

People like to mimic their peers, especially when it comes to online shopping, and TrustPulse helps you use that fact to your store’s advantage. You see, this plugin will show social proof to your website’s visitors that other people are buying your products. The impact this can have on an average consumer is simply staggering because in many cases it automatically triggers in them the desire to at least see what you’re selling, if not outright buy it.
This plugin also comes with detailed metrics that help you see how your campaigns are performing and how your customers are behaving. There are four packages to choose from, all paid for annually, with the lowest one starting at 39.50$.
But if paying at least 39.50$ a year is too much for you. A great alternative could be Evidence which starts at 49.00$ for a LIFETIME DEAL!
 Evidence, similarly to TrustPulse, enables you to create and display an unlimited number of social proof campaigns which include notifications for things like purchases, registrations, etc. And on top of that, you also have the possibility to capture data from any webform or webhook without the need for a third-party platform. Quite neat, right?
LiveChat

This plugin does exactly what you would think – it adds a live chat onto your website. This can be incredibly useful if your customers have some questions about a product or want to clarify the check-out process or something like that.
You can resolve these issues in an instant with just a few sentences. The amount of people who fill their online shopping carts and then just leave them because they’re not sure about the payment process is huge, and if you can address this directly you have an excellent chance to score a conversion. In addition, this plugin also comes with a lot of metrics and works splendidly with Google Analytics.
You can try this product out for free, and if you decide to buy it, there are again four packages to choose from. They are usually billed annually, but you can also opt for payments each month if you’re not willing to make a long-term commitment. The prices start at 16$ a month.
RafflePress

Having a contest is always a wonderful way of raising brand awareness and reaching new potential customers. If that’s the strategy you’re going with, think about using RafflePress to help you create and manage those contests.
First of all, it is very secure, so it will recognize if anyone is trying to cheat. Furthermore, everything is very easy to set up: you just drag and drop the elements you want in your giveaway. Finally, it looks great on all mobile devices, so anyone can participate, even if they’re on the go.
Naturally, this makes this plugin the perfect candidate for hosting contests on social networks, but your website will also benefit from it too, especially in the marketing sense (helps your mailing list grow, allows you to track and retarget, etc.)
At the moment, the most basic package is going for 39.20$ per year. There are four to choose from in total, and you can get a full refund in two weeks if the product doesn’t suit you for some reason. Therefore, you are quite well protected.
Conclusion
If you’re starting an eCommerce website, WooCommerce is probably the best platform you want to do it on. It is the most popular platform of its kind in the world, easy to use, and with a huge number of different extensions and other plugins (many of which are free) at your disposal.
With WooCommerce, you can quickly and efficiently build a fantastic store, but if you’re new to all of this, don’t feel intimidated – the process of installation is really easy, intuitive and doesn’t take long at all.
In just a few simple steps you can have your own little store completely free! After that, when your business takes off, you can maybe invest in some premium plugins, but that remains totally up to you: if you’re satisfied with how things are going, you don’t have to spend a cent.
So, if you have some products but don’t know how to put them on the market, WooCommerce is the best solution. Download it for free and start creating the store you always wanted to have.