Staging websites are a very handy thing to have, especially if you’re a developer and need to make some big changes like installing new updates or adding new features.
A #staging #website will allow you to #test things without any risk to your actual website, so any malfunctions that appear on its staging twin will not affect it. So, pretty much a must in this line of work.
The question then becomes – how do you create one?
That’s what we are going to explain in this article – this is a detailed guide on how to create your own staging website, and we will go through everything step by step so that you know exactly what needs to be done. Don’t worry, it’s not that difficult, and in just a few minutes you will be able to get things rolling. So let’s go!
Creating a staging website with your host’s help
As we said, this is not very difficult, primarily because most of the biggest WordPress hosts out there allow you to create your staging site with a single click of a button.
All you have to do is log in to your site’s admin area or your cPanel and find the staging option. Click on it, and then simply choose the website you want to copy or enter its URL.
Different hosting companies will have slightly different approaches, but this is the gist of it. You may also be asked to name your new testing site, but generally, all it takes is a few clicks to set everything up.

Likewise, the changes you make to the staging site can also be implemented onto your live site with just a click. So, once you see the changes you’ve made are working perfectly, you can easily transfer them to the live version of your site.
Doesn’t sound very complicated, does it? But which companies offer one-click staging site creation. Well, you will want to consider one of the following:
- BlueHost
- WP Engine
- SiteGround
- Kinsta
These are all top tier companies in their own right, and you will probably find a bunch more that have this feature. See which one suits you best and choose. But this is just one of the options you have when it comes to creating staging websites.
Creating a staging website via a plugin
If your hosting company doesn’t offer this option, you can always find a plugin to create your staging site. Yes, just like with everything else related to WordPress, there’s a plugin for this, too.
As always, you have plenty of options to choose from, but WP Staging is favored by many, and WP Stagecoach also comes highly recommended.
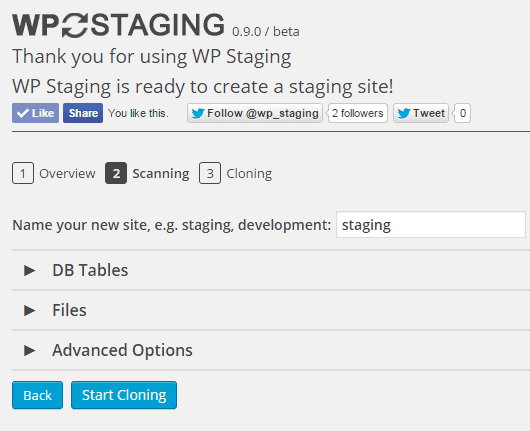
With WP Staging, the process is simple. After installing the plugin, simply open your WP admin dashboard, find the plugin and click “Create new staging site”. Once you do that, just give your new site a name and click “Start cloning”. After a few moments, your staging site will be ready to go and you will be able to access it the same way you access your live site.
WP Stagecoach will ask you to enter your API key which you get on their website when you create an account there. Again, name the new website, click “Ride the Stagecoach” and that’s pretty much it. Simple, right?
These plugins come in free and premium forms, with the latter offering some additional options when it comes to transferring the changes you’ve made back to your live site. But if you don’t want any additional expenses, it is certainly possible to create a staging site for free.
Creating a staging website with site testing tools
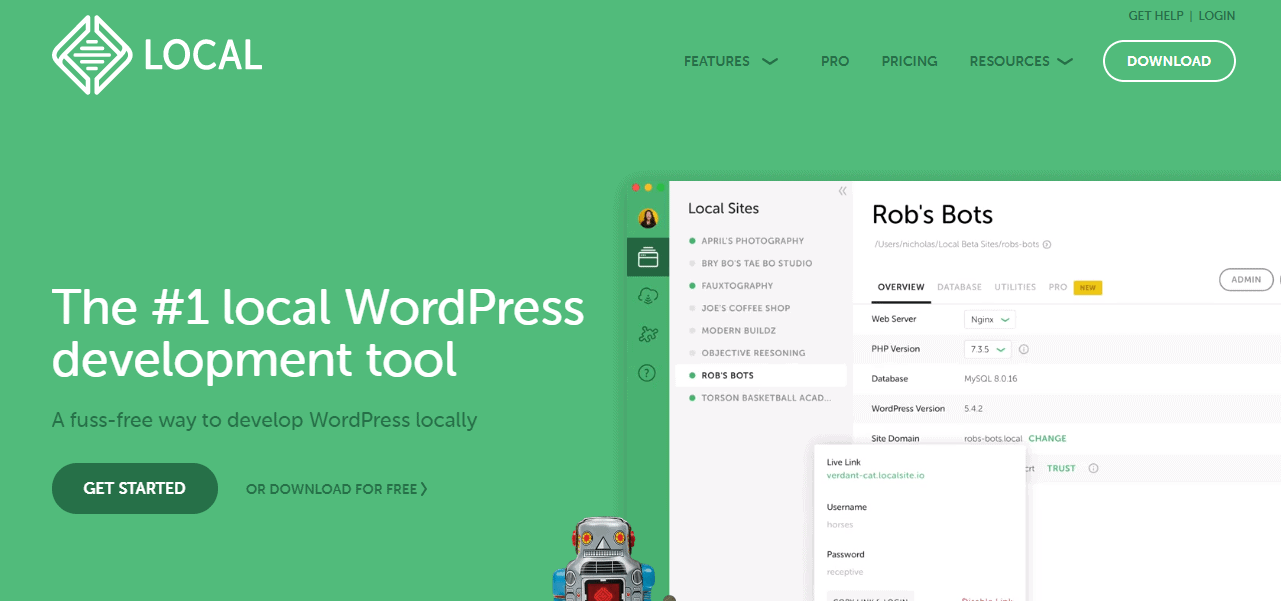
A very similar way of creating your staging website is through the use of site testing tools like Local. These are installed directly onto your computer, and you can then transfer a copy of the website to them and start creating.
The way this works is that you create a copy of your website (these tools allow you to create backups that are perfect for this) which you will then move to a place, with enough storage. Think Google Drive, for example, or Dropbox.
From there, you download the copy of your website to your computer in a ZIP folder and run the testing tool. You will be able to use the folder in the tool to create a copy of your live website, and some tools will even allow you to choose the exact type of server or offer similar slightly advanced options. Mind you, you are not obligated to use them.
Once again, you name your new website, wait for it to be created and presto – you have your staging website. Depending on the type of hosting you have, the changes you make will need to be uploaded manually, but services like WP Engine allow you to do it directly and without any fuss.
Creating a staging website manually

If none of the aforementioned methods work for you, there’s always the option of creating a staging website manually. Obviously, this solution is not as elegant and requires more time and knowledge, but you can still create a perfectly functional staging website this way.
To make it easier to follow everything, we’ve divided this process into six (relatively) simple steps.
1. Creating a subdomain
The first thing you need to do, no matter which hosting service you’re using, is to create a subdomain. You can do that in your cPanel or in the Domains section on BlueHost, but the idea stays the same. Then you name the subdomain and create it, and that’s pretty much it for this step.
2. Creating an FTP account
You will need to create a new FTP account in order to transfer files to your new staging website. It’s a fairly straightforward process, and the only thing you need to be mindful of is that the Directory section is the same as the directory for your subdomain. Once you have everything filled out, just click “Create Account”.
3. Transferring the files
Now comes the fun part because you will be using your new FTP account to transfer files to your staging website. There are two things you need here: the latest version of WordPress and the themes, plugins, and uploads from your live website.
It may take a while, but it’s completely normal for big files to be transferred at a slightly slower pace. This, however, is only the first half of the transferring job.
4. Transferring the database

Once you have all the files, you will need to transfer the database too. First, you will need to export the one from your live website. After that, head to MySQL Databases and create a new database for your staging site. A new database user will have to be created, as well.
Once all that is finished, you import the database from your live site in phpMyAdmin. Simply choose the file that contains it and upload it. And that’s pretty much it.
5. The wp-config.php file
Almost there! You now need to set the wp-config.php file so that it is connected to that new database you’ve set up and your username. Database prefixes are the key here as they have to be the same on your live website and on your staging site. So just check to see if everything is all right in that respect. The chances are that things will be set up this way from the start, but you still need to make sure.
6. Hiding your staging website
There’s an option called “Discourage search engines from indexing this site” in the settings, and you should enable it to make your staging site more difficult to find. There are also some plugins out there that flat out deny access to any user who doesn’t have the correct password to the site. That way, you are in full control of who gets to see your testing grounds and who doesn’t.

Essentially, this whole process can be broken down into three main components: setting up a subdomain, transferring files, and transferring databases. Once you have those elements uploaded to your staging site, the biggest part of your job is done.
And you don’t have to do everything manually, either. When it comes to transferring files and databases, there are, you’ve guessed it, plugins that can make your life a whole lot easier. With plugins like File Manager, you can get the whole thing done much quicker and finally have a place where you can let your coding spirit run wild and experiment with code in a much larger scope.
Creating a staging website with a dedicated account
We’ll wrap things up with a simpler solution. Why not set up a dedicated hosting account? You just need two domain names and to install WordPress twice. Simply download the files and the database, create a new database, and transfer everything over to your account on which the staging website will be.
What’s the best way to create a staging website?
The best way to create a staging website will depend primarily on how much freedom you want when it comes to testing and editing. If you want as much of that as possible, you may want to take the manual approach and simply give yourself enough room to experiment with the site and test everything out.
But the simplest way has to be the one offered by the hosting companies, i.e. those that have the option to set a staging site up in a single click. There’s simply no beating that.

A good solution is also to use a plugin, but there are some flaws to that approach compared to the one described above. You see, plugins will keep the staging site you create on their own server, which may cause some security issues. Furthermore, while they do have free versions, you will likely have to pay to gain access to their full functionality.
Site testing tools are another solid solution, but they are installed directly onto your computer and may require you to manually upload the changes you make this way, which can consume a large chunk of your time.
So, if you haven’t decided on your host yet and don’t have the skills nor the time needed to create a staging site manually, your best bet would be to find a hosting company that has the one-click staging site option.
Conclusion
While there certainly are many ways of going about setting your staging site up, things aren’t nearly as complicated as they used to be. With just a click or two, or with the help of a simple plugin, you can have the perfect testing ground for your website.
Naturally, each of the approaches described above has many solutions because there are many plugins, many hosting companies, and many testing tools to choose from, so some research is still recommended.
Nevertheless, you shouldn’t be intimidated by the prospect of creating a staging site all on your own because you can get plenty of help for that wherever you look.
Be a smart web developer and act pre-emptively to protect your work. Besides, a good staging site will show your prospective clients how serious and trustworthy you are as a business partner, especially if you give them access to its various part so that they can see how the work is going.
So, think about how you want to do this, but always remember that a staging site is good for you in the long run.