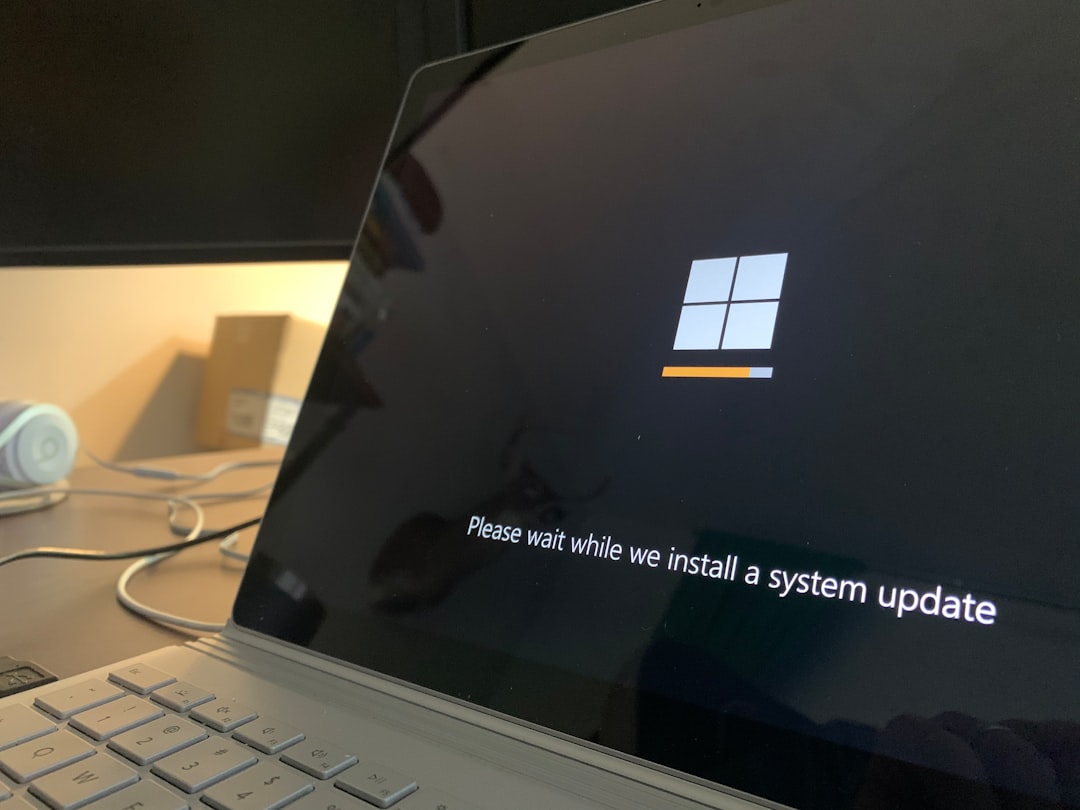
Upgrading to Windows 11 can be an exciting leap into a sleeker design, improved performance, and new productivity features. However, many users find themselves hitting a frustrating wall during the upgrade process: a pesky error blaming the presence of the cFosSpeed driver. This driver, often bundled with certain motherboard or internet optimization software, is known to block Windows 11 updates or installations.
TLDR:
If you’re getting a compatibility error related to the cFosSpeed driver while trying to upgrade or install Windows 11, you’re not alone. This issue stems from the driver’s incompatibility with the newer OS. Fortunately, there are several proven methods to remove or disable the driver and proceed with the installation or update. These steps involve uninstalling the driver, running cleanup commands, or applying registry tweaks.
What is cFosSpeed and Why Does It Block Windows 11?
cFosSpeed is a network driver that provides traffic shaping technology to optimize data transfer for online gaming, VoIP, and P2P usage. It is commonly pre-installed with driver packages on motherboards from manufacturers like ASUS and MSI. Though designed to improve internet performance, Windows 11’s installer recognizes cFosSpeed as a potential stability risk, resulting in a warning or outright upgrade block.
Now, let’s walk through 5 effective methods to remove or neutralize cFosSpeed and continue your Windows 11 journey without hiccups.
1. Uninstall cFosSpeed via Control Panel or Settings
The most straightforward approach is to uninstall the cFosSpeed software completely. This method removes both the driver and its associated applications.
- Press Windows + R to open the Run dialog.
- Type
appwiz.cpland hit Enter. This opens the Control Panel’s “Programs and Features”. - Scroll through the list to find anything with the name cFosSpeed or similar (e.g., “ASUS Turbo LAN”).
- Right-click and select Uninstall.
- Restart your computer to ensure drivers have been fully removed.
If you prefer the Settings app:
- Navigate to Settings > Apps > Installed Apps.
- Search for “cFosSpeed”.
- Click the three-dot menu and choose Uninstall.
After uninstalling, retry your Windows 11 installation.
2. Remove cFosSpeed Driver Using Device Manager
Sometimes, even after uninstalling the software, residual drivers can remain and still be flagged during the upgrade attempt. Using Device Manager, you can manually remove these entries.
- Right-click the Start button and choose Device Manager.
- Expand the category Network adapters.
- Look for any entry that mentions cFosSpeed or a similar optimization tool.
- Right-click the item and select Uninstall device.
- Check the box for “Delete the driver software for this device” if it appears, and confirm.
Once done, restart your PC and check your Windows 11 upgrade again.
3. Use Command Prompt to Remove cFosSpeed and Related Files
If the above solutions didn’t completely eliminate the driver—or if Windows Installer still detects remnants—try using Command Prompt to forcibly remove any cFosSpeed files.
- Search for cmd in the Start menu, right-click, and choose Run as administrator.
- Enter the following commands one by one:
netcfg -u cFosSpeed
sc delete cFosSpeed
If you know the exact location of cFosSpeed driver files, you can also run:
del /f /s /q "C:\Program Files\cFosSpeed\*.*"
rd /s /q "C:\Program Files\cFosSpeed"
Be cautious when using these commands. Ensure you’re targeting the correct directory and driver files. After running these, reboot your device and proceed with the update.
4. Use the Windows Registry to Disable Compatibility Check
This method is more advanced and should be used with caution. By adjusting registry entries, you can bypass Windows 11’s compatibility check temporarily. Note: this won’t help if the system genuinely can’t support Windows 11, but it can bypass software driver checks like cFosSpeed.
- Press Windows + R, type
regedit, and press Enter. - Navigate to:
HKEY_LOCAL_MACHINE\SYSTEM\Setup\MoSetup - If the MoSetup key doesn’t exist, create it.
- Within it, right-click and create a new DWORD (32-bit) Value called
AllowUpgradesWithUnsupportedTPMOrCPU. - Set its value to 1.
- Exit Registry Editor and restart your PC.
This won’t delete cFosSpeed, but will allow the system to sidestep the compatibility block. However, proceed only if you’re comfortable making changes in the Windows Registry.
5. Install Windows 11 Using a Bootable USB (Clean Install)
If all else fails, performing a clean installation of Windows 11 can overwrite any conflicting drivers and give you a fresh start. Be sure to back up your data first!
- Download the Windows 11 Media Creation Tool from Microsoft’s official site.
- Create a bootable USB drive (at least 8 GB).
- Insert the USB into your target PC and restart.
- Enter BIOS/UEFI by pressing DEL, F2, or F12 during boot (varies by manufacturer).
- Set the USB drive as the primary boot option.
- Follow the on-screen instructions to install Windows 11.
During the installation, select the option to delete existing partitions (if you’re backing up and don’t need to retain data). This ensures all old drivers, including cFosSpeed, are wiped completely.
Final Thoughts
The cFosSpeed driver is a classic case of useful software becoming an unintended obstacle. While it serves a specific purpose for network optimization, it’s a known conflict during the Windows 11 upgrade process. The good news? It can be removed or disabled using one of the above methods, depending on your comfort level and required upgrade path.
Whether you choose a clean install or stick to uninstall methods within Windows, your path toward enjoying Windows 11 doesn’t have to be held hostage by an outdated driver. Take control, follow the steps, and let your system shine with the new OS!
Good luck, and happy upgrading!