


Throughout history, website footers have served as repositories for supplementary information that doesn’t find a place in the main menu. They accommodate diverse elements such as links to support resources and social media platforms. As the WordPress footer holds significant value, it’s essential to gain insight into its functionality, customization options, and the process of removing irrelevant preset content. Therefore, we will guide you on how to edit WordPress footer directly in Theme Customizer. Let’s dive in!
Please note if you’re not comfortable editing the WordPress footer by yourself, it’s always best to rely on the expert help of agencies delivering WordPress website development services.
Reasons to Editing WordPress Footer
To understand the value of a WordPress footer, here’s a list of reasons for having one:
- The WordPress footer is a fixed section visible on every page, offering greater visibility than standard pages that disappear when clicked away from.
- It plays an integral role in completing the website’s design, visually and within the WordPress files.
- Additionally, it serves as an indicator for ending code and signifies content conclusion while enhancing interface cleanliness.
- Furthermore, footers present opportunities for increased conversions and engagement through elements like calls-to-action at the end of blog posts or the inclusion of forms, interlinked content references, or company taglines. Importantly, they serve as repositories for significant links that may not have made it onto the main menu.
What to Include in the WordPress Footer?
Customizing your WordPress footer is crucial for linking to valuable pages, incorporating brand-related content, and removing default messages from theme developers or WordPress. Adjusting the styling to align with your branding using custom fonts and colors is also essential. So, what can you include in your WordPress footer?
- Subscription forms for newsletter messages or blog updates;
- Links to customer support resources such as FAQs, knowledgebase articles, and forums;
- Icon links for downloading digital products like apps and podcasts;
- A list of upcoming events;
- Recent blog post articles;
- Links to loyalty and affiliate programs;
- Informational pages like About Us or Career page;
- Badges/icons promoting reputation awards or site security;
- Social media icons linking directly;
- Your social media profiles;
- A comprehensive sitemap enhancing navigation throughout the website;
- Legal statements, including copyright claim privacy policies, terms and conditions;
- Contact information: address locations phone number, business hours, or a contact form;
- Search box improving navigation, etc.
Now that we know the main benefits of the website’s footer area and the elements it can store, let’s see how to edit WordPress footer directly in Theme Customizer.
How to Edit WordPress Footer Step-By-Step
In this guide, we’ll focus on how to edit WordPress footer directly in Theme Customizer.
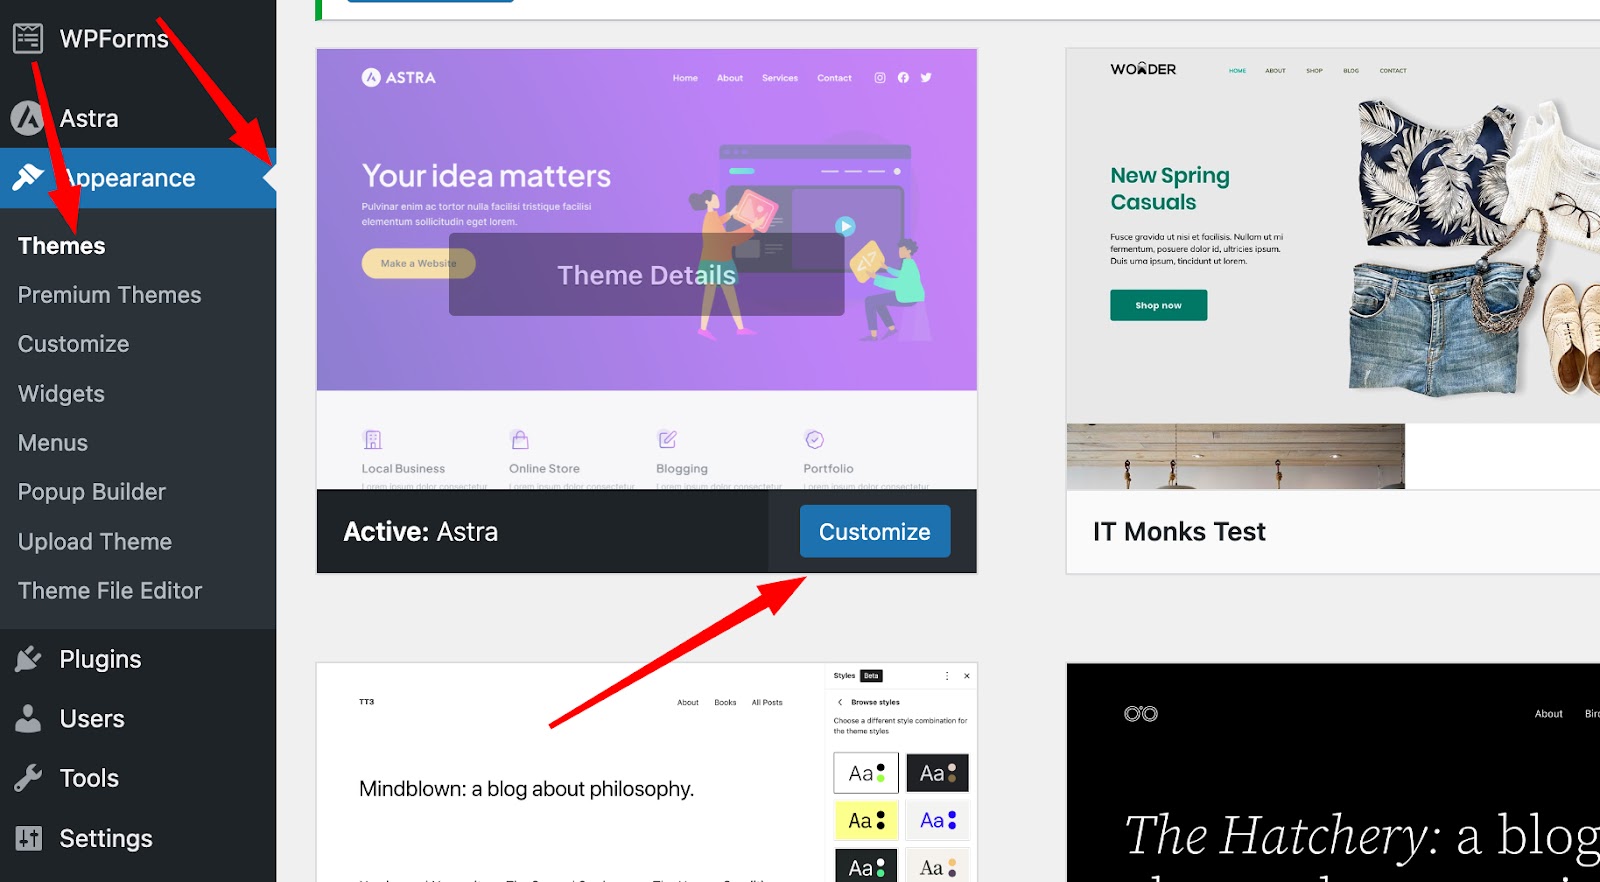
To start, navigate to your dashboard and select “Appearance,” followed by “Themes.” Next, click on the Customize button corresponding to your currently active theme. The options available in Theme Customizer may differ based on your selected theme, but you’ll always find it in a consistent location within the WordPress dashboard. (For a quicker option, select Appearance > Customize to access the WordPress Theme Customizer for the current theme directly.)

The WordPress Theme Customizer visually displays your website on the right side, with menu items on the left to access settings and customization tools.
We’ve opted for the Twenty Twenty theme in this guide. Remember, your theme determines the level of control you can exert over the footer within the WordPress Customizer. Specific themes offer more flexibility in this regard. In the case of the Storefront theme, there’s a dedicated Footer tab. Simply click on it to explore customization options for the footer section.
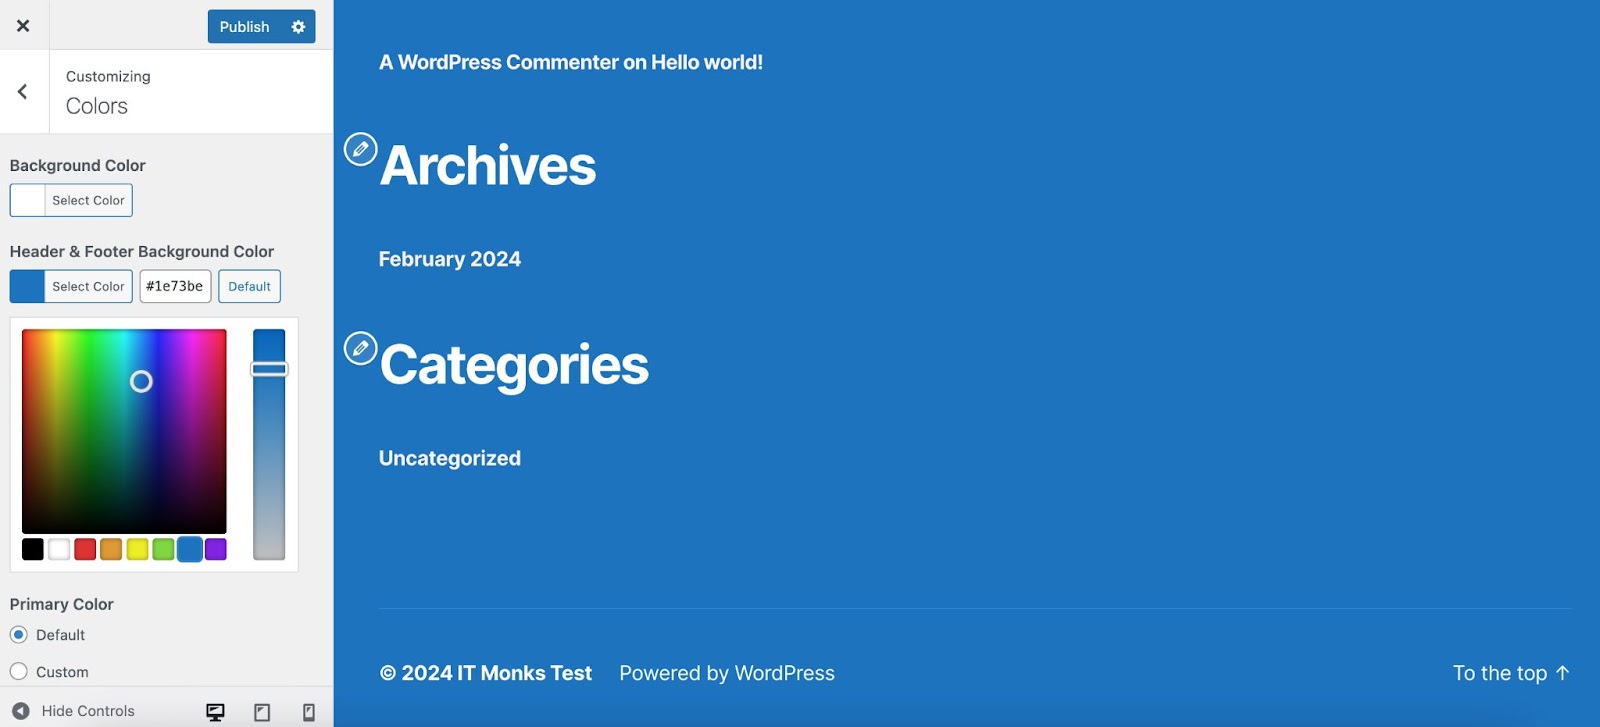
How to Edit Footer Background Color
We navigated Colors > Header & Footer Background Color to edit the background color in the Theme Customizer. We selected color #1e73be for this tutorial (which was applied to the header and footer background). The changes were displayed on the preview immediately. You may choose the default color or select any from the palette. Once done, click “Publish” to save the changes.

How to Edit Footer Widgets
One way to customize the footer content is by incorporating widgets. Depending on your theme’s support, wordPress widgets offer diverse functions and can be placed in various locations, such as the sidebar and footer. The Twenty Twenty theme offers multiple widget areas in the footer, arranged in columns for a visually appealing layout that maximizes content display within the footer.
To add a widget, click on any designated widget locations within the footer. This action will reveal an option to “Add A Widget,” leading to a slideout view displaying all available WordPress widgets corresponding with your theme. Depending on your specific setup, you may encounter different widgets due to themes including their own or additional ones installed via extensions or plugins.

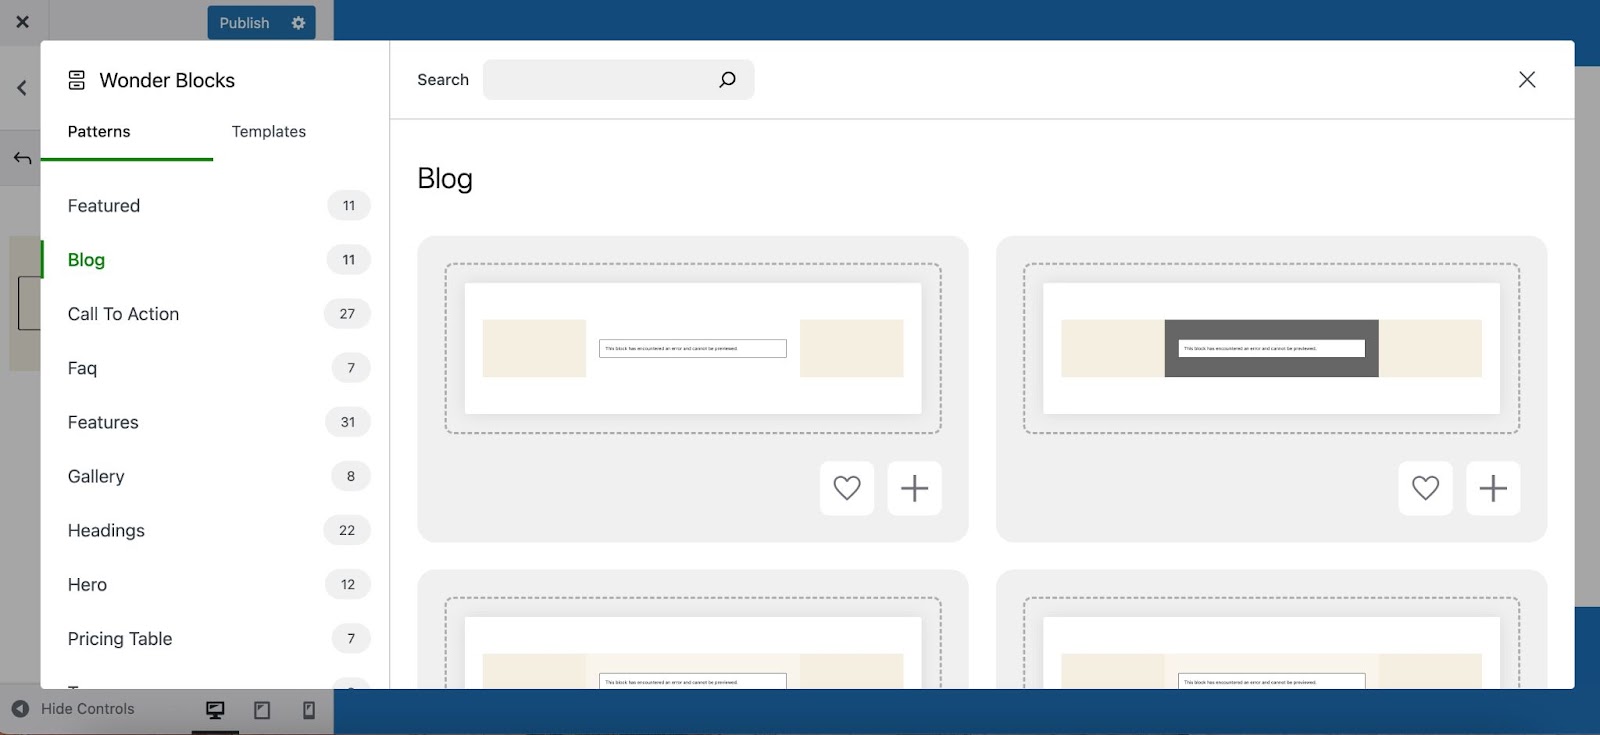
Commonly used widgets range from Archives and Audio to Custom HTML and Product Filters. Select desired widgets for inclusion in this area; once added, they can be rearranged and individually configured from settings displayed on their left-hand side.
After selecting several suitable options for three column modules within our website’s footer – encompassing main menu links, recent post listings, as well as select shop products – we also incorporated a user-friendly search bar for enhanced navigation convenience.
Pay attention to each widget’s settings section on its left-hand side; carefully adjust these fields according to your preferences before finalizing their appearance.
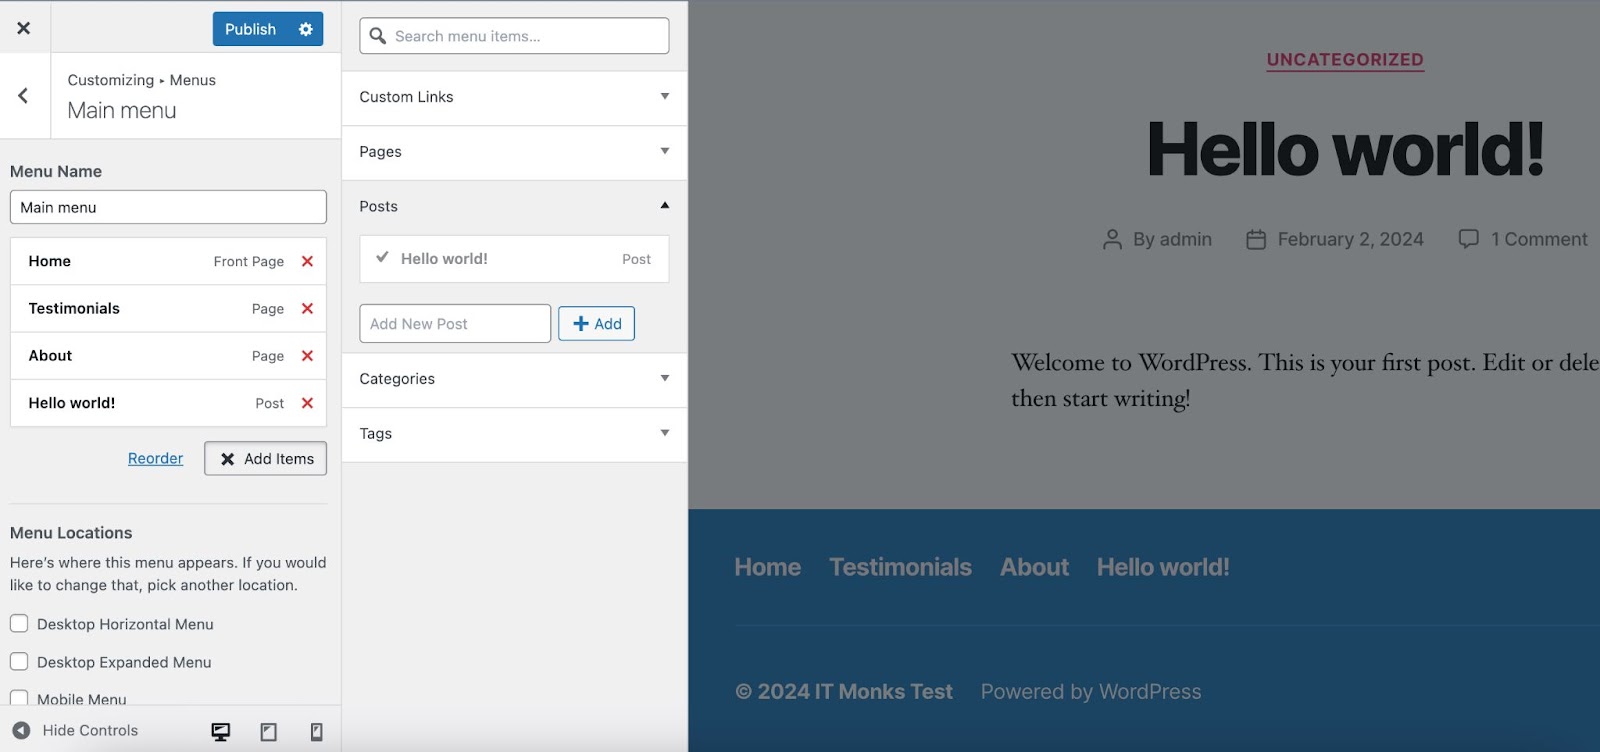
How to Edit WordPress Footer Menus
To create menus in WordPress, navigate to Appearance > Menus. After creating a menu, you can add it to the locations supported by your selected theme. You can also create your menu within the WordPress Customizer, depending on where you prefer adding new pages and links to your menus.

Bottom Line
WordPress footers serve multiple purposes, such as incorporating social media buttons and showcasing recent blog posts, support pages, and forms. The aim is to maximize this additional space rather than overcrowding the main menu with excessive links or overwhelming the sidebar with abundant content. Now that you know how to edit WordPress footer directly in Theme Customizer, you can try personalizing footers across any WordPress site!