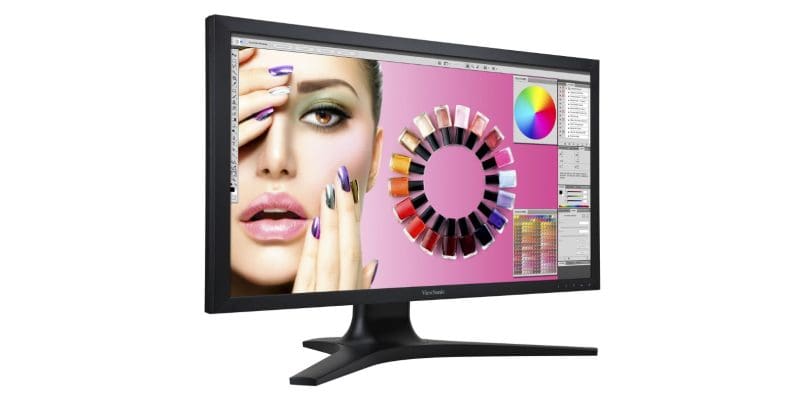
The ViewSonic VP2780-4K is a dream come true for anyone serious about their visuals. Whether you’re editing videos, designing graphics, or enjoying ultra-crisp gaming, this professional-grade 4K UHD monitor is packed with features like stunning resolution and precise color accuracy. Here’s how to set it up for the best experience.
Why the ViewSonic VP2780-4K Stands Out

The ViewSonic VP2780-4K monitor stands out with its:
- 4K UHD Resolution: Provides crisp, detailed visuals.
- Professional Color Accuracy: Ideal for tasks requiring precision, such as photo and video editing.
- Ergonomic Design: Adjustable stand for optimal viewing comfort.
With these features, it’s no wonder this display is a favorite among professionals and enthusiasts alike.
Unboxing and Inspecting the Components
Before diving into the setup, ensure you’ve unboxed everything properly. The package includes:
- The monitor itself
- A stand and base
- HDMI and DisplayPort cables
- A power cable
- Quick start guide
Inspect all components for damage and make sure nothing is missing. If something isn’t right, contact ViewSonic support.
Setting Up the Monitor Physically
Here’s how to assemble and position your VP2780-4K monitor to get it ready for use.
Attach the Stand
Lay the monitor face-down on a flat, soft surface to protect the screen. Align the stand with the mount on the back of the monitor, secure it with the screws provided, and ensure it’s firmly attached.
If you prefer a wall-mounted setup, the VP2780-4K is compatible with VESA mounts. This allows you to create a more flexible or minimalist setup.
Position the Monitor
Once the stand is attached, place the monitor on your desk and adjust the height, tilt, and swivel for ergonomic comfort. The monitor’s wide adjustability ensures you’ll find the perfect viewing angle.
Connecting the Monitor to Your Device
Now that your monitor is set up physically, it’s time to connect it to your PC or laptop. You’ll need to choose the right cable for your specific setup.
- HDMI: Ideal for most modern devices, offering excellent 4K resolution compatibility.
- DisplayPort: Recommended for professional GPUs or tasks that require higher refresh rates.
- Adapters: If your device doesn’t have HDMI or DisplayPort, you can use adapters like USB-C to HDMI.
Once you’ve selected the cable, plug one end into the monitor and the other into your device. Then connect the power cable, turn on the monitor, and select the appropriate input source from the monitor’s on-screen display (OSD) menu.
Configuring the Display Settings
After connecting your monitor, configuring your display settings ensures optimal performance. Start by opening your device’s Display Settings or System Preferences and verify that the VP2780-4K is recognized.
Set the resolution to 3840 x 2160 (4K UHD) for crystal-clear visuals. Adjust the refresh rate to 60 Hz for smooth performance, especially for gaming or multimedia editing.
Optimizing the Monitor for Use
To get the most out of your ViewSonic VP2780-4K, here are a few tips for optimizing your setup:
- Calibrate the Display:
Color accuracy is one of this monitor’s standout features. Use ViewSonic’s built-in calibration software or third-party tools like DisplayCAL to fine-tune the display settings. Regular calibration ensures consistent results over time. - Multi-Monitor Configurations:
If you’re using the VP2780-4K as part of a dual or triple monitor setup, arrange the displays in your system settings. Ensure scaling and alignment are adjusted for seamless multitasking.
Troubleshooting Common Issues
Sometimes things don’t go as planned. Here’s how to fix some common issues you might encounter:
No Signal Detected
Ensure all cables are securely connected to the correct ports. Also, confirm that you’ve selected the correct input source from the monitor’s OSD menu.
Resolution or Refresh Rate Problems
Check your graphics card drivers and update them if necessary. Some older GPUs may not support 4K resolution or 60 Hz refresh rates.
Flickering or No Display
Try using a different cable or switching to another port on your PC. If the issue persists, reset the monitor to factory settings via the OSD menu.
FAQs about ViewSonic VP2780-4K
Can I Use the VP2780-4K with My Laptop?
Yes, as long as your laptop supports 4K output and has the necessary ports or adapters.
How Do I Calibrate Colors for the VP2780-4K?
Use the included calibration software from ViewSonic or professional tools like CalMAN.
Is the Monitor Compatible with Mac Systems?
Yes, the VP2780-4K works seamlessly with macOS devices that support 4K output.